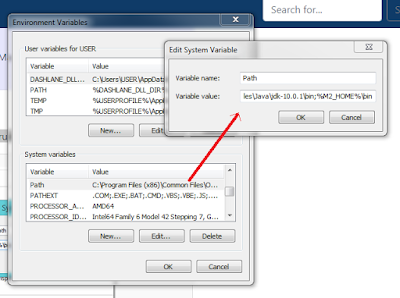
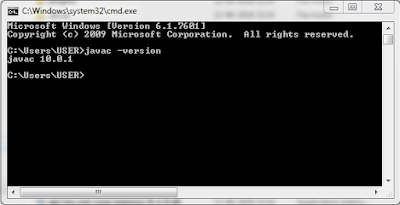
I have installed JDK, Maven, and STS before starting this project. Please refer below links to know how to install these technologies.
This tutorial shows you how to create a simple project in Spring 3 using Maven.
- How to install JDK.
- How to install Maven.
- How to install STS.
- First generate a project structure using Maven. Type below code in command prompt. Here name of my project is bsnl. You can give any name as you wish in DartifactId. If you are trying to create the project first time in maven, then it will take more time because maven will take time to download the set up.
mvn archetype:generate -DgroupId=com.bsnl.core -DartifactId=bsnl -DarchetypeArtifactId=maven-archetype-quickstart -DinteractiveMode=false
Then this project will be created in a folder where command prompt is pointed. In my case it is D:/bsnlapp. Thus it created the project structure successfully. - Then Import this project to STS. Open STS and go to File -> Import -> Maven -> Existing Maven Projects. Then select your maven project which is created in first step. Thus I have Imported my project successfully.
- Then update pom.xml file.
<project xmlns="http://maven.apache.org/POM/4.0.0" xmlns:xsi="http://www.w3.org/2001/XMLSchema-instance"
xsi:schemaLocation="http://maven.apache.org/POM/4.0.0 http://maven.apache.org/maven-v4_0_0.xsd">
<modelVersion>4.0.0</modelVersion>
<groupId>com.bsnl.core</groupId>
<artifactId>bsnl</artifactId>
<packaging>jar</packaging>
<version>1.0-SNAPSHOT</version>
<name>bsnl</name>
<url>http://maven.apache.org</url>
<properties>
<spring.version>3.0.5.RELEASE</spring.version>
</properties>
<dependencies>
<dependency>
<groupId>junit</groupId>
<artifactId>junit</artifactId>
<version>3.8.1</version>
<scope>test</scope>
</dependency>
<!-- Spring 3 dependencies -->
<dependency>
<groupId>org.springframework</groupId>
<artifactId>spring-core</artifactId>
<version>${spring.version}</version>
</dependency>
<dependency>
<groupId>org.springframework</groupId>
<artifactId>spring-context</artifactId>
<version>${spring.version}</version>
</dependency>
</dependencies>
</project> - Then add simple spring bean.
package com.bsnl.core;
public class AppController {
private String name;
public void setName(String name) {
this.name = name;
}
public void printHello() {
System.out.println("Spring 3 : Hello ! " + name);
}
} - Create a Spring configuration file, and declare all the available Spring beans. File:Spring-Module.xml
<beans xmlns="http://www.springframework.org/schema/beans"
xmlns:xsi="http://www.w3.org/2001/XMLSchema-instance"
xsi:schemaLocation="http://www.springframework.org/schema/beans
http://www.springframework.org/schema/beans/spring-beans-3.0.xsd">
<bean id="helloBean" class="com.bsnl.core.AppController">
<property name="name" value="Bsnl" />
</bean>
</beans> - Update App.java
package com.bsnl.core;
import org.springframework.context.ApplicationContext;
import org.springframework.context.support.ClassPathXmlApplicationContext;
/**
* Hello world!
*
*/
public class App
{
public static void main(String[] args) {
ApplicationContext context = new ClassPathXmlApplicationContext(
"Spring-Module.xml");
AppController obj = (AppController) context.getBean("helloBean");
obj.printHello();
}
} - Structure of this project look like this.
- Then run this project. Right click on project -> Run As -> Java Application.
- After this I tried to develop a web application using Maven. Please go through below link to know more about this. https://www.mkyong.com/maven/how-to-create-a-web-application-project-with-maven/


