This tutorial teaches you how to design a blogger template from scratch.
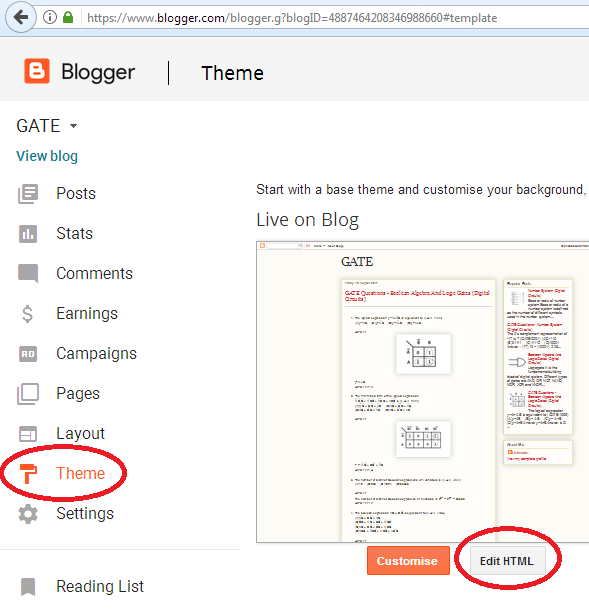
- Go to 'Theme' and 'Edit HTML' in Blogger.

-
Now add the basic HTML code.
<html>
<head>
<title>Title</title>
</head>
<body>
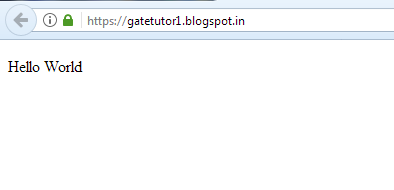
<p>Hello World</p>
</body>
</html>
By clicking Preview button, It will show an error messageCould not load theme preview: There should be one and only one skin in the theme, and we found: 0
Add the below code in head to avoid this error.
After adding the above code it will show the error message like<b:skin><![CDATA[
/****CSS CODE*****/
]]></b:skin>We did not find any section in your theme. A theme must have at least one b:section tag.
Add the below code in body to avoid this error
Now the whole code will look like<b:section id="1"></b:section>
The output of this code will be like this<html>
<head>
<title>Title</title>
<b:skin><![CDATA[
/****CSS CODE*****/
]]></b:skin>
</head>
<body>
<b:section id="1"></b:section>
<p>Hello World</p>
</body>
</html>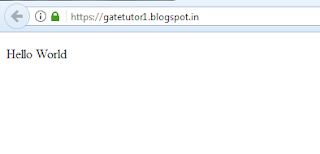
-
Add the below code in body to display all blog posts.
<b:section class='main' id='main' showaddelement='yes'>
<b:widget id='Blog1' locked='false' title='Blog Posts' type='Blog' version='1'/>
</b:section> -
Next, I am going to add a sidebar. First add the styles of main and sidebar in the CSS.
Then use these styles for main and sidebar. Complete code is shown below.#main-wrapper {
float:left;
width:70%;
}
#sidebar-wrapper {
float:right;
width:30%;
}<?xml version="1.0" encoding="UTF-8" ?>
<html xmlns='http://www.w3.org/1999/xhtml' xmlns:b='http://www.google.com/2005/gml/b' xmlns:data='http://www.google.com/2005/gml/data' xmlns:expr='http://www.google.com/2005/gml/expr'>
<head>
<title>Title</title>
<b:skin><![CDATA[
/****CSS CODE*****/
#main-wrapper {
float:left;
width:70%;
}
#sidebar-wrapper {
float:right;
width:30%;
}
]]></b:skin>
</head>
<body>
<div>
<div id='main-wrapper'>
<b:section class='main' id='main' showaddelement='yes'>
<b:widget id='Blog1' locked='false' title='Blog Posts' type='Blog' version='1'></b:widget>
</b:section>
</div>
<div id='sidebar-wrapper'>
<b:section class='sidebar' id='sidebar' preferred='yes' showaddelement='yes'/>
</div>
</div>
</body>
</html>